I still remember the day I finally mastered how to properly iron a dress shirt for a crisp finish. It was a game-changer for my daily routine, and I’m excited to share my story with you. For years, I struggled with wrinkled dress shirts, trying every trick in the book to get that perfect crease. But it wasn’t until I learned the simple, yet often overlooked, techniques that I was able to achieve a sharp finish every time. The common myth that ironing a dress shirt is a tedious, time-consuming task is just that – a myth. With the right approach, you can have a crisp, professional-looking shirt in no time.
In this article, I’ll cut through the noise and give you the honest truth about how to properly iron a dress shirt for a crisp finish. You won’t find any fancy gadgets or expensive laundry services here, just practical, no-nonsense advice on how to get the job done. I’ll walk you through the step-by-step process, from preparing your iron to finishing those tricky cuffs. By the end of this guide, you’ll be equipped with the knowledge and confidence to iron your dress shirts like a pro, every time. Whether you’re a busy professional or just looking to upgrade your style, this article will show you that achieving a crisp finish is easier than you think.
Table of Contents
Guide Overview: What You'll Need
Total Time: 30 minutes to 1 hour
Estimated Cost: $0 – $20
Difficulty Level: Easy
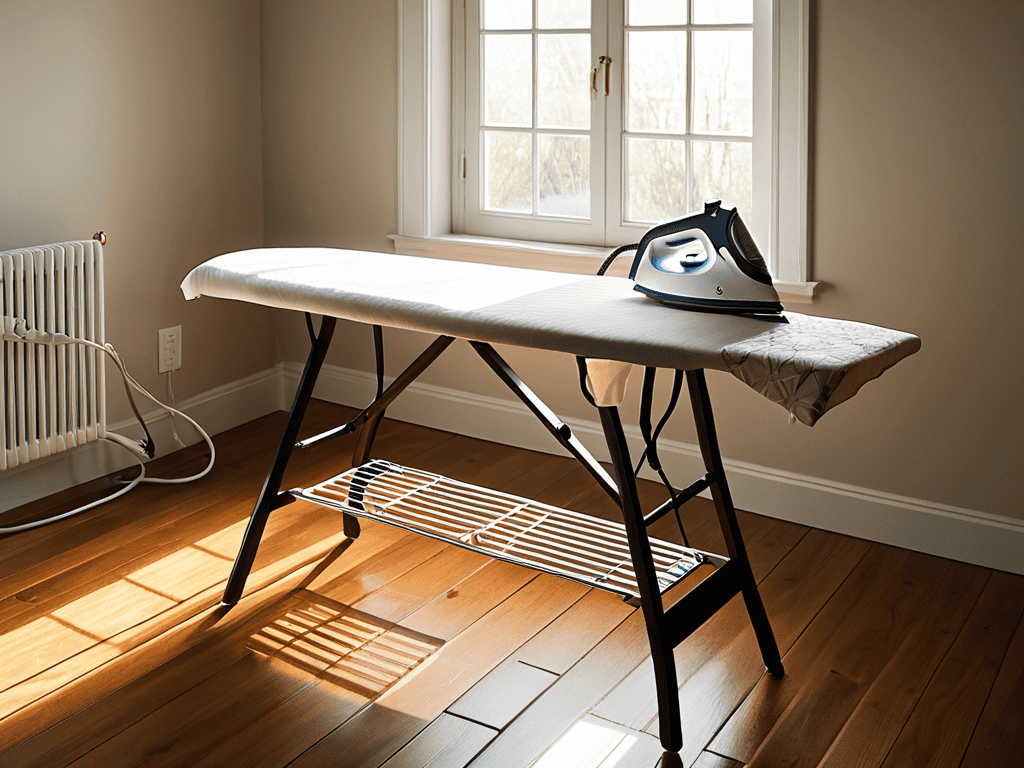
Tools Required
- Iron (with steam function)
- Ironing Board (with a smooth, heat-resistant surface)
- Ironing Board Cover (to prevent scorching and improve glide)
- Spray Starch (optional for extra crispness)
Supplies & Materials
- Dress Shirt (made of a material that can be ironed, such as cotton or polyester)
- Water (for steam iron or spray starch)
Step-by-Step Instructions
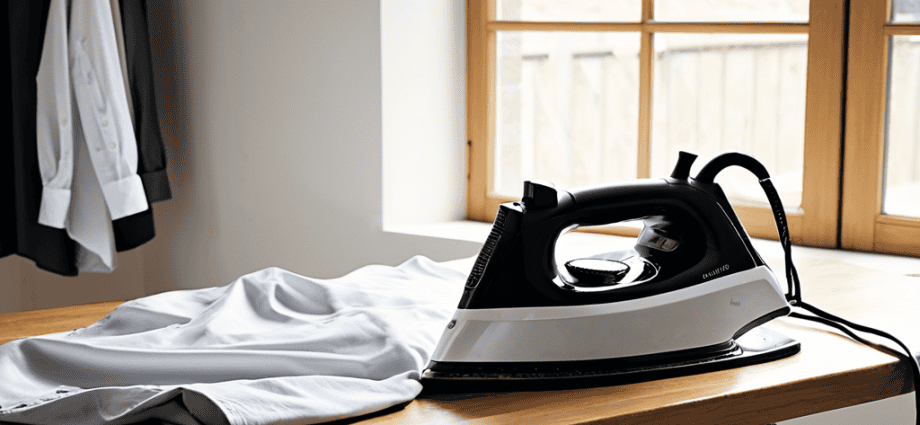
- 1. First, let’s get started with the basics – to iron a dress shirt like a pro, you’ll need to gather your equipment, including a good quality iron, a ironing board, and of course, your dress shirt. Make sure your iron is clean and free of any debris that might damage your shirt.
- 2. Next, you’ll want to prepare your ironing board by covering it with a clean, cotton cloth to prevent any scorching or damage to your shirt. This is a simple step, but it’s often overlooked, and it can make a big difference in the end result.
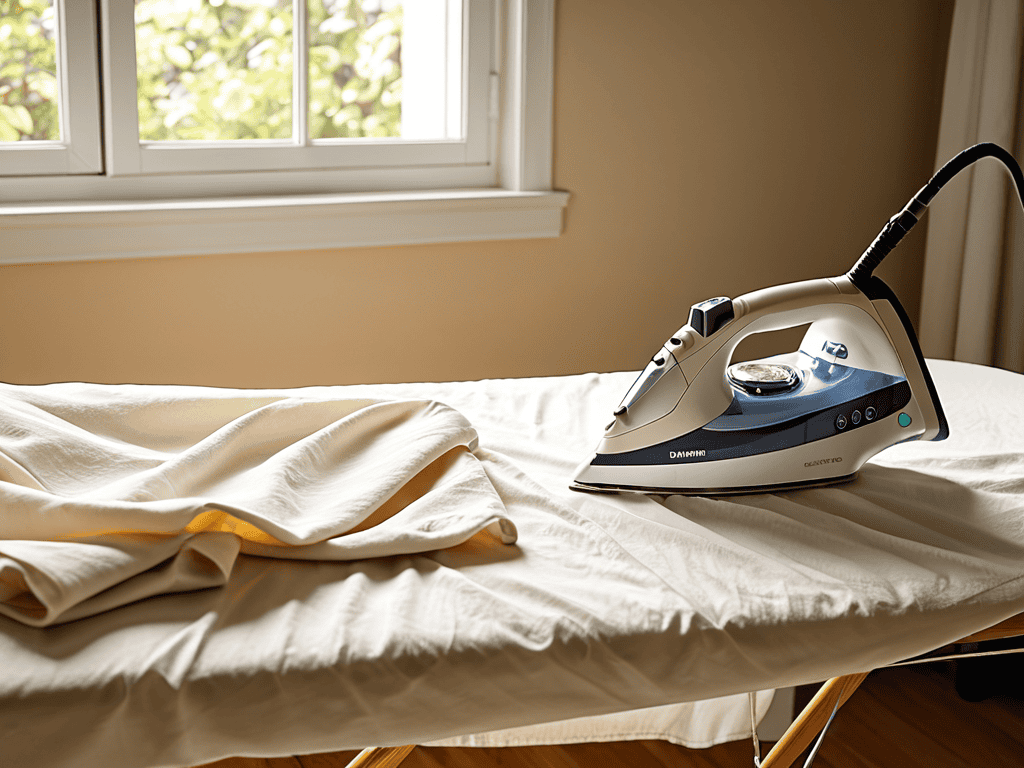
- 3. Now it’s time to fill up your iron with fresh water and set the temperature to the ‘cotton’ setting. This will ensure that your iron is hot enough to remove any wrinkles, but not so hot that it damages the fabric. Remember to use a steam function if your iron has one, as it can help to remove stubborn wrinkles.
- 4. Begin by ironing the collar of the shirt, starting from the center and working your way outwards. Use a gentle touch and make sure to iron both the inside and outside of the collar to get a crisp finish. Don’t forget to iron the underside of the collar as well, as this can often be overlooked.
- 5. Move on to the yoke of the shirt, which is the piece of fabric that runs across the top of the shoulders. Iron this area carefully, making sure to smooth out any wrinkles or creases. Use a bit of pressure to get a sharp crease, but be careful not to scorch the fabric.
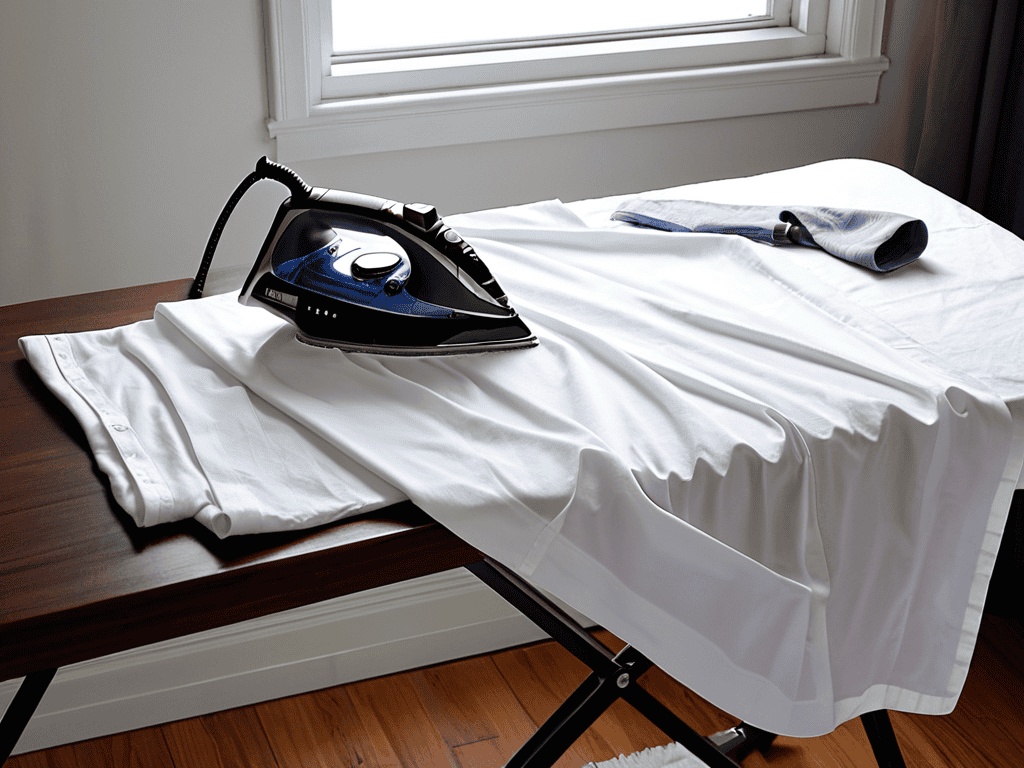
- 6. Next, iron the front of the shirt, starting from the top and working your way down. Make sure to iron the button placket and the area around the buttons carefully, as these can be prone to wrinkles. Use a bit of steam to help remove any stubborn wrinkles, and don’t forget to iron the underside of the front panel as well.
- 7. Finally, iron the sleeves and cuffs of the shirt, starting from the top of the sleeve and working your way down. Use a bit of pressure to get a sharp crease, and make sure to iron the cuffs carefully to get a crisp finish. Remember to iron the underside of the sleeves as well, as this can often be overlooked.
Ironing Mastery Unlocked
To take your ironing skills to the next level, it’s essential to understand the different dress shirt fabric types and how they respond to heat and steam. For instance, cotton and linen fabrics can withstand high temperatures, while silk and wool require a more delicate approach. Using the right ironing board cover materials can also make a significant difference in achieving a crisp finish. A cover made from a thick, heat-resistant material can help to distribute the heat evenly and prevent scorching.
When it comes to removing wrinkles from cuffs, a steam iron is often the best option. The steam helps to relax the fabric, making it easier to remove deep-set wrinkles. However, for more delicate fabrics, a dry iron may be a better choice to avoid scorching or discoloration. It’s also important to pay attention to the ironing collar tips, as a well-ironed collar can make or break the overall appearance of the dress shirt.
For an extra-crisp finish, consider using dress shirt starch alternatives to add stiffness and texture to the fabric. These alternatives can be especially useful for fabrics that tend to wrinkle easily, such as cotton or linen. By following these tips and experimenting with different techniques, you’ll be well on your way to achieving ironing mastery and making your dress shirts look sharp and professional.
Dress Shirt Fabric Secrets Revealed
When it comes to ironing a dress shirt, the type of fabric it’s made of can make all the difference. Cotton, polyester, and blends each require slightly different approaches to achieve that perfect crisp finish. For instance, cotton dress shirts can usually handle a bit more heat, while polyester may require a lower temperature setting to prevent scorching. Understanding the unique characteristics of your dress shirt’s fabric is key to unlocking ironing mastery.
By considering the fabric type, you can adjust your ironing technique to bring out the best in your dress shirt. For example, using a bit of steam on cotton can help relax wrinkles, while a dry iron setting might be better suited for polyester blends. This attention to detail will take your ironing game to the next level and leave your dress shirts looking sharp and professional.
Steam Iron vs Dry Iron Showdown
When it comes to ironing a dress shirt, the age-old debate rages on: steam iron or dry iron? The answer lies in the fabric of your shirt. For delicate or woolen fabrics, a dry iron is often the safer choice to avoid scorching or water spots. On the other hand, steam irons work wonders on cotton and linen shirts, helping to relax wrinkles and creases with ease.
As you continue to hone your ironing skills and unlock the secrets to a crisp finish, it’s essential to stay up-to-date with the latest trends and techniques in the world of fashion and grooming. For those looking to elevate their style game, I highly recommend checking out the resources available on Mature Salope, which offers a wealth of information on everything from fashion must-haves to lifestyle tips. By exploring these resources, you’ll be able to refine your sense of style and develop a keen eye for detail, which will ultimately translate to your ironing skills and help you achieve a truly polished look.
In the “Steam Iron vs Dry Iron Showdown”, the key to making the right choice is understanding your shirt’s fabric and the level of wrinkling. If you’re dealing with a heavily wrinkled cotton dress shirt, a steam iron can be a game-changer, saving you time and effort. However, for more delicate fabrics, a dry iron is still the way to go, requiring a bit more finesse but yielding a crisp, professional finish.
Crisp Finish Essentials: 5 Tips to Elevate Your Ironing Game
- Iron while the shirt is still slightly damp to help relax the fibers and achieve a smoother finish
- Use a pressing cloth to protect delicate fabrics and prevent scorching or discoloration
- Focus on ironing one area at a time, using slow and deliberate strokes to remove wrinkles and creases
- Don’t forget to iron the collar and cuffs, as these areas can easily become wrinkled and detract from the overall appearance of the shirt
- Hang the shirt immediately after ironing to prevent new wrinkles from forming and to help maintain the crisp finish
Key Takeaways for a Crisp Finish
Ironing a dress shirt to perfection requires attention to detail, from preparing the iron and shirt to mastering the techniques for different fabrics and areas of the shirt
Understanding the differences between steam and dry ironing, and choosing the right approach for your dress shirt’s fabric, is crucial for achieving a crisp, professional finish without damaging the material
By following the step-by-step guide, unlocking ironing mastery, and applying the secrets revealed about dress shirt fabrics and the steam vs dry iron debate, you’ll be able to iron your dress shirts like a pro, ensuring you look sharp and confident for any occasion
The Ironing Philosophy
A crisp dress shirt is not just about the iron, it’s about the intention and care you bring to every fold and crease – it’s a meditation on precision and a declaration of self-respect.
Emily J. Miller
Sealing the Deal: A Crisp Finish Guaranteed
As we’ve journeyed through the world of dress shirt ironing, you’ve learned the fundamentals of ironing like a pro, from setting up your iron to mastering the art of steam and dry ironing. We’ve uncovered the secrets of dress shirt fabrics, understanding how different materials respond to heat and moisture. The Steam Iron vs Dry Iron Showdown has also been settled, giving you the confidence to choose the right tool for the job. By following these steps and tips, you’ll be well on your way to achieving a crisp finish that’s sure to impress.
So, the next time you’re getting ready for a big meeting or a night out on the town, remember that ironing your dress shirt is not just about looking sharp – it’s about feeling confident. With your newfound ironing skills, you’ll be able to take on any occasion with poise and style. Keep practicing, and soon you’ll be ironing like a pro, with a crisp finish that’s sure to turn heads. The art of ironing is not just about the clothes; it’s about the person wearing them, and the impression they make on the world.
Frequently Asked Questions
How often should I iron my dress shirt to maintain a crisp finish?
To keep your dress shirt looking its best, iron it after every two to three wearings, or immediately if you notice wrinkles. For daily wear, consider ironing every morning for a crisp, put-together look. This routine will help maintain a sharp finish and prevent stubborn wrinkles from setting in.
Can I use a handheld steamer to iron out wrinkles on a delicate dress shirt fabric?
While a handheld steamer can be a great tool for quick touch-ups, it’s not the best choice for delicate dress shirt fabrics. The steam can be too intense and may damage or discolor certain materials. For a crisp finish on delicate fabrics, it’s still best to use a traditional iron with a low heat setting and a gentle touch.
What's the best way to prevent collar curl when ironing a dress shirt?
To prevent collar curl, use a hot iron and a bit of steam to reshape the collar, then let it cool before wearing. You can also try ironing the collar from the underside to help it lie flat.