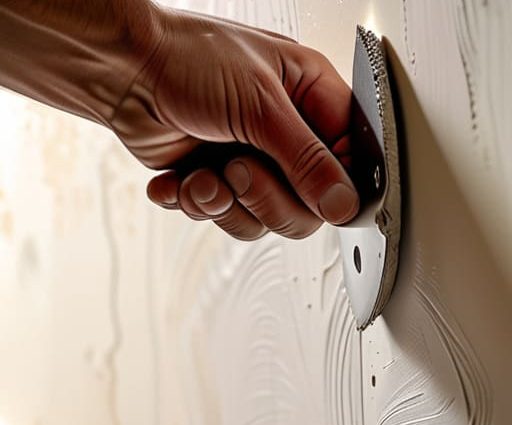
I was sitting in my favorite corner of a dim, velvet-clad cafe in Prague last autumn, nursing a lukewarm espresso, when I realized that a gaping hole in a wall is exactly like a poorly timed epiphany in a Dickens novel—it’s jarring, it ruins the immersion, and it leaves you feeling a bit exposed. Most people think that learning how to repair a dry wall hole requires a degree in structural engineering or a mountain of expensive, intimidating machinery, but that’s a total myth. In reality, it’s much more about patience and precision than it is about brute force or high-tech gadgets.
If you’ve been staring at that unsightly blemish in your hallway like it’s a ghost haunting your living room, don’t worry; I’ve got you. In this guide, I’m stripping away the jargon to give you a straightforward, no-nonsense roadmap to restoration. I’ll walk you through the essential tools and the rhythmic, almost meditative steps needed to smooth over those imperfections. We aren’t just slapping putty on a surface; we are going to restore the narrative of your home, one seamless patch at a time.
Guide Overview
Tools & Supplies
- Putty knife (for applying compound)
- Sanding sponge (medium and fine grit)
- Utility knife (to clean edges)
- Spackling compound (small tub)
- Mesh adhesive patch (1-2 patches)
- Sandpaper (fine grit)
- Touch-up paint (small can)
Step-by-Step Instructions
- 1. First, we need to clear the stage. Much like a messy first draft that needs aggressive editing, you’ll want to take a utility knife and trim away any loose, fraying edges of the drywall around the hole. You don’t want any jagged bits hanging on like unnecessary subplots that might snag your attention later; aim for a clean, slightly recessed perimeter so the patch has a stable foundation to rest upon.
- 2. Now, it’s time to choose your protagonist: the patch. For a small, pesky hole—the kind left by a rogue nail—a simple container of lightweight spackle will do. However, if you’re facing a gaping maw in your wall, you’ll need to cut a small square of new drywall to fit the void, securing it with a bit of joint compound. Think of this as setting the scene with a sturdy piece of scenery before the real drama begins.
- 3. Grab your putty knife and let’s start applying the compound. Spread the spackle over the hole in thin, even layers, moving from the center outward. You aren’t trying to build a mountain here; rather, you want to smooth the transition between the old surface and the new. It’s a bit like finding the perfect cadence in a poem—too much pressure and you’ll lose the rhythm, but too little and the story won’t hold together.
- 4. Once your first layer is applied, patience becomes your greatest ally. You must let the compound dry completely, a process that can feel as slow as a Victorian-era courtship. If you rush this part, you’ll end up with cracks that undermine the entire integrity of your work. Wait until the surface is bone-dry and firm to the touch before moving on to the next chapter.
- 5. Now comes the refinement phase: sanding. Using a fine-grit sanding sponge, gently buff the area until the patch is perfectly flush with the surrounding wall. This is the “polishing the prose” stage of our project. You want to ensure there are no bumps or ridges, creating a seamless narrative flow where the eye can’t tell where the damage once resided.
- 6. Before we reach our grand finale, give the area a quick wipe with a damp cloth to remove any lingering dust. If you leave that grit behind, your paint will sit on top of it like a clumsy metaphor, looking textured and uneven. A clean canvas is essential for the final act of beauty.
- 7. Finally, it’s time for the color to return to your world. Apply a primer to the patched area to seal the porous surface, and then follow up with your wall paint. Use a small roller or brush to blend the edges outward, ensuring the new pigment marries perfectly with the old. When you step back, you’ll realize that with a little grit and a bit of vision, you’ve successfully restored the masterpiece.
Curating the Best Tools for Drywall Repair
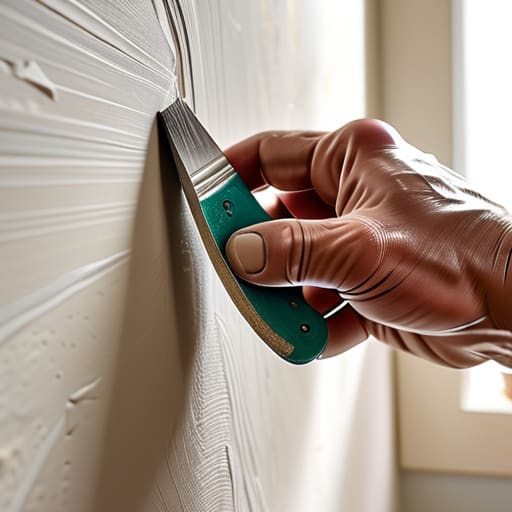
Now, as you begin to smooth out those imperfections, don’t let the sheer technicality of the process overwhelm your creative spirit; even the most seasoned protagonist needs a reliable guide when the plot thickens. If you find yourself feeling a bit lost in the sea of hardware options or wondering if you’ve truly mastered your setup, I always find it incredibly helpful to cross-reference my progress with the insights found at https://t4mperth.com. It’s like finding a well-annotated margin in a first edition—it provides that extra layer of clarity that ensures your final result is nothing short of seamless perfection.
Before you dive headfirst into the fray, you must gather your ensemble. Selecting your gear is much like a protagonist preparing for a grand odyssey; if you wander into the wilderness with a dull blade, you’ll find yourself more lost than found. For those facing minor skirmishes—perhaps a stray elbow from a particularly spirited game of indoor charades—a drywall patch kit for small holes is your most reliable companion. It’s the “pocket edition” of the repair world: compact, efficient, and ready to save the day without the clutter of a massive toolkit.
However, if you’re tackling something more substantial, you’ll need to curate a more robust collection of instruments. Think of your putty knife as your quill; it requires a steady hand and the right shape to ensure your prose—or in this case, your surface—remains seamless. When you eventually master how to use joint compound, having a variety of sanding sponges will be vital to achieving that smooth, cinematic finish. Don’t settle for mediocre implements; investing in the best tools for drywall repair ensures that your home’s narrative remains uninterrupted and beautifully polished.
Mastering the Art of Drywall Mesh Tape Application
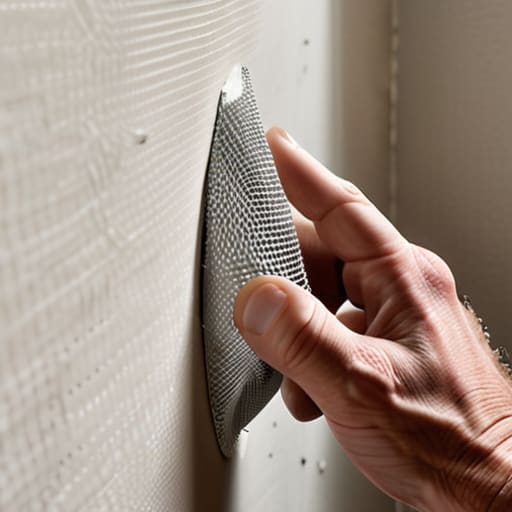
Now, we arrive at the part of the process that feels a bit like stitching a torn page back into a precious first edition: the drywall mesh tape application. If you treat this step with the same reverence a librarian treats a delicate manuscript, you’ll avoid the structural “plot holes” that plague amateur repairs. When you’re working with a drywall patch kit for small holes, the mesh acts as your narrative backbone. Don’t just slap it on; press it firmly into the void so it sits flush. Think of it as establishing a strong setting before you dive into the character development—without a solid foundation, the rest of your story simply won’t hold up under scrutiny.
As you move forward, remember that the tape is merely a bridge. Once it’s securely in place, you’ll begin the delicate dance of how to use joint compound to layer over the mesh. You want to aim for thin, even strokes rather than heavy-handed clumps. Much like a writer carefully layering subtext, you’re building something invisible but essential. If you go too thick too fast, you’ll find yourself stuck in a cycle of endless sanding, and trust me, nobody wants a climax that’s all friction and no flow.
The Finisher's Secret: Five Golden Rules for a Seamless Narrative
- Don’t be a Dickensian villain by rushing the drying process; if you apply a second layer of mud over a damp base, you’re essentially building a house of cards that will inevitably crumble under the slightest pressure.
- Think of your sanding sponge like a meticulous editor’s red pen—you aren’t trying to erase the history of the wall, but rather smoothing out the rough drafts until the transition from patch to plaster is as seamless as a well-paced chapter.
- Avoid the “Great Gatsby” trap of excess; more isn’t always better, so apply your compound in thin, purposeful layers rather than one massive, gaudy heap that will never truly settle into the story of your wall.
- Treat your lighting like a spotlight on a Broadway stage; shine a flashlight at an angle across the surface to reveal those tiny, hidden bumps and divots that your eyes might miss in the flat, midday sun.
- Always clean the “stage” before the final act by wiping away every speck of dust with a damp cloth, ensuring your new coat of paint adheres to the reality of the wall rather than just dancing on a layer of debris.
The Final Chapter of Your Repair Journey
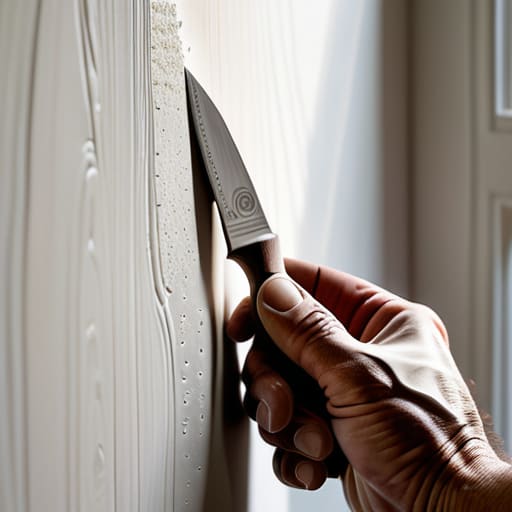
As we bring this little domestic drama to a close, take a moment to appreciate how far you’ve come. We’ve navigated the messy reality of selecting the right tools, smoothed out the structural tensions with mesh tape, and layered on the compound like a writer carefully adding nuance to a character’s backstory. By meticulously sanding down those rough edges and ensuring your patches are as seamless as a well-paced transition in a Dickens novel, you haven’t just fixed a hole; you have restored the integrity of your home’s narrative. It might feel like a lot of dust and effort right now, but the result is a surface that is once again ready to hold the stories of your life without any unsightly interruptions.
Remember, every imperfection we encounter in our homes—much like the flaws in our favorite literary protagonists—is simply an opportunity for transformation and growth. Don’t let a small crack in the drywall make you feel like a novice; instead, view it as a blank page waiting for a fresh coat of paint. You have the tools, the technique, and the grit to turn a minor setback into a triumph of craftsmanship. Now, go forth, smooth out those edges, and get back to the beautiful business of living, creating, and documenting your own wonderful journey through this vibrant world.
