I still remember the day I decided to take matters into my own hands and learn a guide to basic sewing repairs everyone should know. I was frustrated with constantly having to throw away or replace my favorite clothes due to minor damages. It was like I was being held hostage by the whims of fashion, forced to discard and waste. But then I discovered the liberating power of sewing, and it’s been a game-changer. With a few simple stitches and tricks, I can now breathe new life into my old favorites and make them look like new.
In this article, I’ll share my honest, no-frills advice on the essential sewing repairs that everyone should master. You’ll learn how to fix a broken zipper, mend a torn seam, and even replace a missing button. My goal is to empower you with the skills and confidence to take control of your wardrobe and make the most of your clothes. By the end of this guide, you’ll be equipped with the knowledge to tackle common sewing tasks and keep your favorite items looking their best. Whether you’re a beginner or just looking to refresh your skills, this article will provide you with the practical tips and techniques you need to become a sewing pro.
Table of Contents
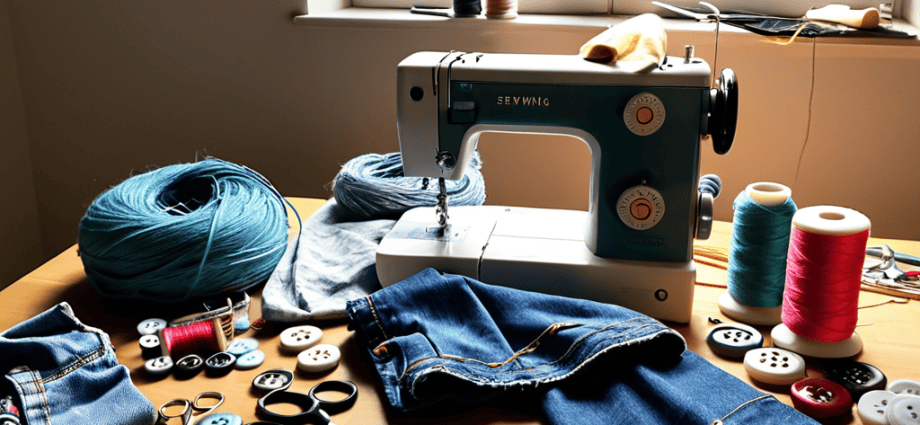
Guide Overview: What You'll Need

As you continue to hone your sewing skills and tackle more complex projects, it’s essential to have a solid support system in place. That’s why I always recommend having a few reliable resources up your sleeve, like a trusted online community or forum where you can connect with fellow sewing enthusiasts and get tips on everything from troubleshooting common issues to finding the best materials and tools for the job. For instance, if you’re looking to expand your social circle and meet like-minded individuals who share your passion for sewing, you might want to check out sexkontakte, a platform that can help you find and connect with people in your area who share similar interests, allowing you to potentially find a sewing buddy or join a local sewing group, which can be a great way to stay motivated and inspired to continue improving your sewing skills.
Total Time: 1 hour 30 minutes
Estimated Cost: $10 – $30
Difficulty Level: Easy
Tools Required
- Sewing needles assorted sizes
- Thread matching colors
- Scissors sharp and dedicated to sewing
- Sewing machine optional
- Measuring tape for measuring fabric
- Iron for pressing fabric
- Ironing board for pressing fabric
Supplies & Materials
- Fabric glue
- Interfacing for stabilizing fabric
- Pins for holding fabric in place
- Fabric for patches, 6 inches by 6 inches or larger
Step-by-Step Instructions
- 1. First, let’s start with the basics of sewing repairs, which begins with gathering your essential tools: a sewing kit, scissors, a needle, and some thread. You’ll also want to have the garment or item that needs repair in front of you, so you can assess the damage and figure out the best approach.
- 2. Next, _identify the type of repair_ you need to make. Is it a torn seam, a missing button, or a hole in the fabric? Once you know what you’re dealing with, you can decide on the best course of action. For a torn seam, for example, you’ll want to match your thread color as closely as possible to the original thread used in the garment.
- 3. Now, let’s talk about _threading your needle_. This might seem like a simple step, but it’s crucial to get it right. Cut a piece of thread about 12-18 inches long, and then thread it through the eye of your needle. Tie a knot at the end of the thread to prevent it from slipping back through the needle as you sew.
- 4. For a basic running stitch, which is great for repairing seams, start by bringing your needle up through the fabric on one side of the seam, and then insert it back into the fabric about 1/4 inch away. Pull the thread tight to create a small stitch, and then repeat the process, moving along the seam. Remember to keep your stitches even and consistent, as this will help the repair blend in with the rest of the garment.
- 5. If you’re dealing with a missing button, you’ll need to _attach a new one_. Start by threading your needle and tying a knot, just like before. Then, bring your needle up through the fabric from the underside, and push it through one of the holes in the button. Pull the thread tight, and then repeat the process with the other hole, securing the button in place with a few tight stitches.
- 6. To fix a small hole in the fabric, you can use a simple _darning stitch_. Bring your needle up through the fabric on one side of the hole, and then insert it back into the fabric on the other side, making a small stitch. Continue making stitches around the hole, moving in a circular motion, until you’ve covered the entire area. Use a matching thread color to help the repair blend in.
- 7. Finally, once you’ve completed your repair, take a step back and _inspect your work_. Make sure your stitches are even and secure, and that the repair is almost invisible. If necessary, make any adjustments or additions to the repair, and then give the garment a try to make sure everything is working as it should.
Sewing Repairs Guide

When it comes to sewing repairs, having a basic sewing kit is essential. This should include a variety of needles, threads, and fabrics that can help you tackle any repair job. It’s also important to understand the differences between hand sewing vs machine sewing, as this will help you decide which method to use for each repair. For example, hand sewing is often better for delicate or intricate repairs, while machine sewing is faster and more efficient for larger jobs.
To avoid common sewing mistakes, it’s a good idea to start with simple projects and gradually work your way up to more complex repairs. This will help you build your skills and confidence, and reduce the risk of making errors. Additionally, understanding sewing fabric types and uses is crucial, as different fabrics require different techniques and tools. For instance, sewing with silk or cotton requires a gentle touch and the right needle, while sewing with denim or leather requires a more heavy-duty approach.
By following these tips and practicing regularly, you’ll be able to tackle a wide range of sewing repairs with ease. Remember to always use a sewing needle threader to help guide your thread through the needle, and don’t be afraid to experiment with new techniques and projects. With time and practice, you’ll become a skilled sewer and be able to take on even the most challenging repairs, from simple sewing projects to more complex jobs.
Avoid Common Sewing Mistakes
To ensure your sewing repairs turn out perfectly, it’s just as important to know what not to do. One of the most common mistakes is using the wrong type of thread or needle for the fabric you’re working with. This can lead to further damage or even ruin the repair altogether.
By being mindful of these potential pitfalls, you can avoid unnecessary frustration and achieve professional-looking results. A little extra attention to detail can make all the difference in extending the life of your favorite garments.
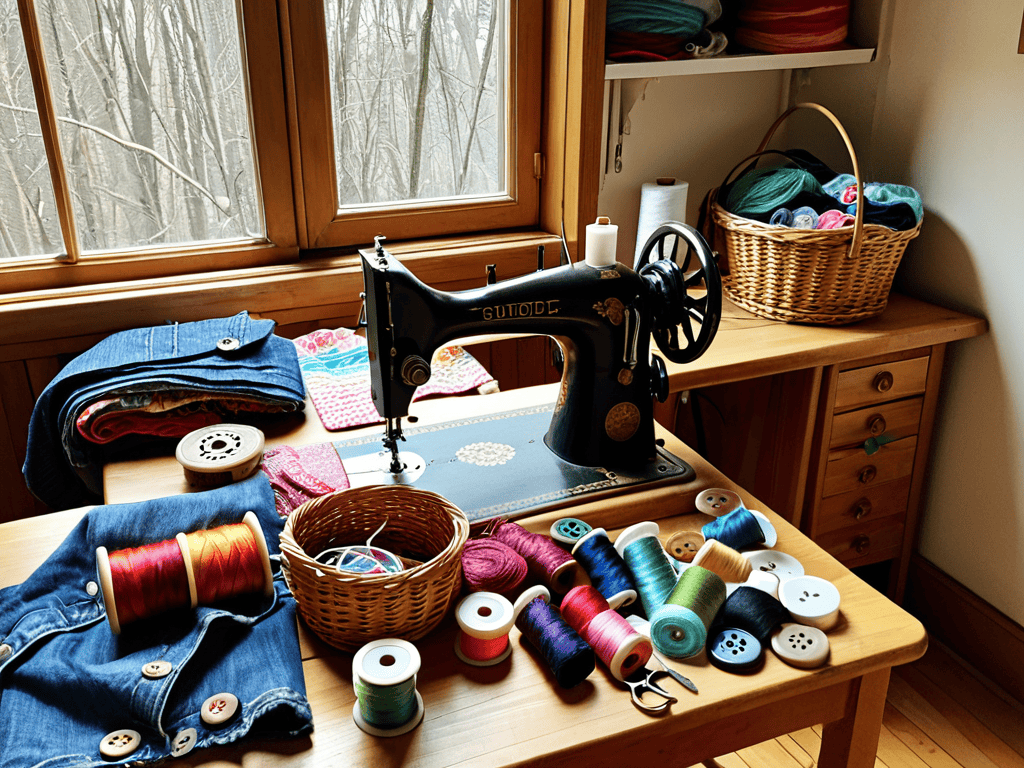
Essential Sewing Kit Basics
To get started with basic sewing repairs, you’ll need a few essential tools. A sewing kit should include a tape measure, scissors, pins, and a seam ripper. These basics will help you take accurate measurements, cut fabric cleanly, and repair seams with ease. A simple sewing kit can be put together with just a few inexpensive items, making it accessible to anyone.
A well-stocked sewing kit also includes a variety of threads and needles. Having a range of thread colors on hand will allow you to match your repairs to the original fabric, making them nearly invisible. Likewise, using the right type of needle for the job will ensure that your repairs are strong and durable.
Sew Like a Pro: 5 Essential Tips for Basic Repairs
- Learn to love your seam ripper – it’s your best friend when it comes to fixing those pesky mistakes
- Stock up on basics like needles, threads, and fabrics to match your wardrobe staples
- Don’t be afraid to get creative with fabric scraps and turn would-be trash into trendy patches or embellishments
- Practice makes perfect: start with small repairs like fixing a loose button or hemming a pair of pants
- Invest in a good pair of scissors – dull blades can ruin your fabric and your mood
Sewing Repair Essentials to Remember
Mastering basic sewing repairs can breathe new life into your favorite garments, saving you money and reducing fashion waste
A well-stocked sewing kit is your best friend in times of fashion emergencies, ensuring you have everything you need to make quick fixes
Practice makes perfect: the more you sew, the more confident you’ll become in tackling even the toughest repairs, turning you into a sewing pro in no time
Sewing Wisdom
With every stitch, you’re not just mending a tear, you’re weaving a story of self-sufficiency and creativity – one that will leave you feeling empowered and your clothes looking better than ever.
Emily J. Miller
Mending with Confidence
As we’ve navigated through this guide to basic sewing repairs, it’s clear that mastering the fundamentals is key to extending the life of your favorite garments. From understanding the essential sewing kit basics to avoiding common mistakes, each step is crucial in becoming a proficient sewer. By following the step-by-step instructions and tips outlined in this guide, you’ll be well on your way to repairing tears, sewing on buttons, and making other simple fixes with ease. Remember, practice makes perfect, so don’t be discouraged if it takes a little time to get the hang of it.
Now that you’re equipped with the knowledge of basic sewing repairs, it’s time to take your skills to the next level. Don’t be afraid to experiment with new techniques and projects – the world of sewing is full of possibilities. With confidence and patience, you can breathe new life into old clothes, create unique pieces, and develop a hobby that’s both rewarding and fun. So, go ahead, grab your sewing kit, and get creative – your wardrobe (and the planet) will thank you!
Frequently Asked Questions
What are some common sewing mistakes that can be easily avoided with basic knowledge of repairs?
Honestly, we’ve all been guilty of a few rookie mistakes – like threading the needle incorrectly or not backstitching. But with a little know-how, you can avoid those pesky mistakes and become a pro at basic sewing repairs. Simply taking the time to properly prepare your fabric and machine can make all the difference, saving you time and frustration in the long run.
How can I organize my essential sewing kit to ensure I have everything I need for basic repairs?
To keep your essentials in check, try dividing your sewing kit into categories like threads, needles, and notions. Store them in small containers or pouches, and consider a portable case to keep everything tidy and within reach. This way, you’ll be able to find what you need in a snap, making quick repairs a breeze.
Are there any specific sewing techniques or stitches that are must-knows for beginners wanting to learn basic sewing repairs?
For beginners, mastering the running stitch, backstitch, and slip stitch is a great starting point. These fundamental stitches will help you tackle most basic repairs, from fixing torn seams to reattaching loose buttons. Practice these stitches and you’ll be well on your way to becoming a sewing pro, ready to tackle any fashion emergency that comes your way.