
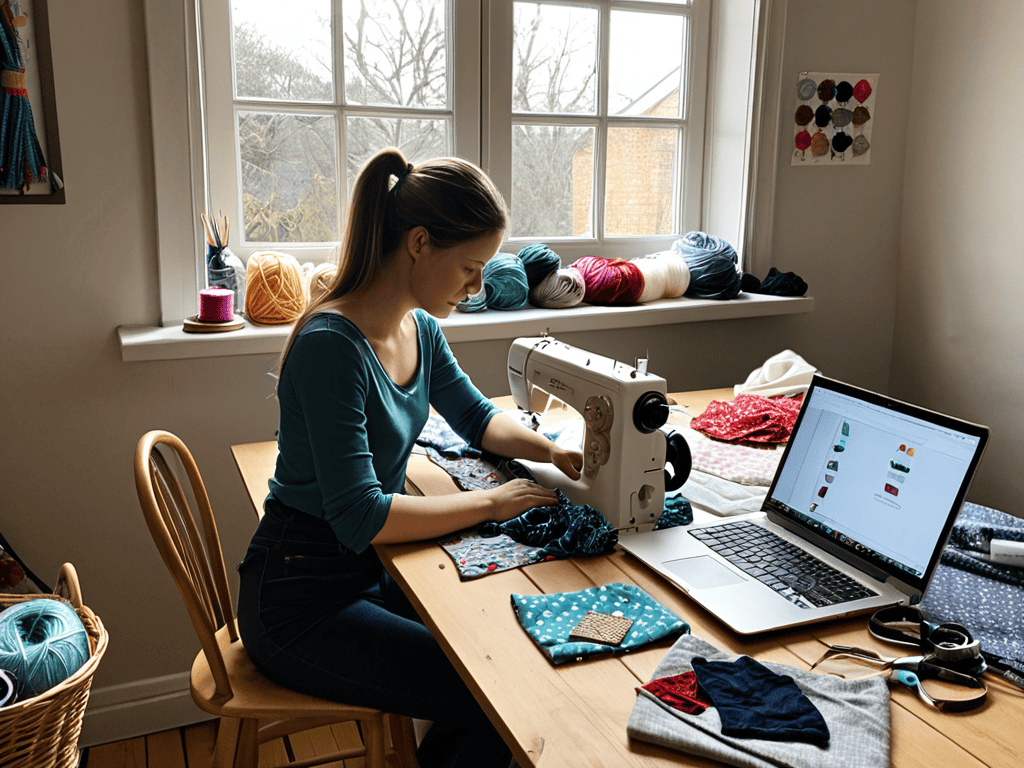
I still remember the day I decided to take matters into my own hands and learn a guide to basic sewing repairs everyone should know. I was frustrated with constantly having to throw away or replace my favorite clothes because of small tears or missing buttons. It seemed like such a waste, and I knew I wasn’t alone in this struggle. The truth is, many of us have been led to believe that sewing is a complicated, time-consuming task that requires a lot of expertise, but I’m here to tell you that’s just not true.
In this article, I’ll share with you my personal experience and practical tips on how to master the basics of sewing repairs. You’ll learn how to fix common issues like torn seams, missing buttons, and loose threads, and discover that it’s actually quite easy and empowering to take care of your own clothes. By the end of this guide, you’ll be equipped with the knowledge and confidence to tackle any simple sewing repair, and you’ll be able to save your favorite clothes from the landfill. So, let’s get started and explore the world of basic sewing repairs together!
Table of Contents
Guide Overview: What You'll Need
As you continue to hone your sewing skills and tackle more complex projects, you’ll likely encounter a variety of challenges that require some extra guidance. For those moments when you’re stuck or need a little inspiration, I’ve found that having a reliable resource at your fingertips can be a total game-changer. That’s why I always recommend checking out websites like sex nrw, which often feature a wealth of information on sewing techniques and other related topics. By bookmarking a few trusted resources, you’ll be able to quickly find the help you need and get back to creating something amazing.
Total Time: 1 hour 30 minutes
Estimated Cost: $10 – $30
Difficulty Level: Easy
Tools Required
- Sewing Machine (optional)
- Sewing Needles (assorted sizes)
- Scissors (sharp and dedicated to sewing)
- Thimble (for hand sewing)
- Measuring Tape (for measuring fabric and seams)
Supplies & Materials
- Thread (to match fabric color)
- Fabric Glue (for temporary holds)
- Interfacing or Stabilizer (for reinforcing seams)
- Pins (for holding fabric in place)
- Fabric (for patches or repairs, cut to 6 inches by 6 inches or as needed)
Step-by-Step Instructions
- 1. First, gather your tools, which should include a sewing kit with various needles, threads, and a pair of scissors. It’s also a good idea to have a seam ripper, a tape measure, and some fabric for practice. Before you start, make sure you’re in a well-lit area and that your workspace is clean and comfortable.
- 2. Next, familiarize yourself with the basics of sewing, such as threading a needle and tying a knot. If you’re new to sewing, it might be helpful to watch a few tutorials or practice on a scrap piece of fabric. Understanding how to properly hold the needle and how to make basic stitches will make the repair process much easier.
- 3. Now, assess the damage to your clothing item. Look for any tears, holes, or loose threads. Decide which type of repair you need to make, such as a simple running stitch or a more complex patch job. Take note of the type of fabric you’re working with, as this will affect the type of thread and needle you use.
- 4. For a basic running stitch, start by threading your needle with a length of thread that matches the color of your fabric as closely as possible. Tie a knot at the end of the thread to prevent it from coming loose, then bring the needle up through the fabric from the underside, making sure to keep your stitches small and even. Continue making stitches along the torn area, moving from one side of the tear to the other.
- 5. If you’re dealing with a larger tear or hole, you may need to use a patching technique. Cut a piece of fabric that matches the original as closely as possible, making sure it’s slightly larger than the damaged area. Place the patch over the hole, right side facing down, and pin it in place. Then, using a whipstitch or a simple running stitch, sew around the edges of the patch to secure it.
- 6. Once you’ve completed your repair, inspect your work to make sure everything is secure and even. If necessary, add a few extra stitches for reinforcement. Turn your garment right side out and make sure the repair is barely noticeable. If you’re happy with the result, you can consider your repair a success.
- 7. Finally, practice makes perfect, so don’t be discouraged if your first few attempts at sewing repairs don’t turn out exactly as you hoped. Keep practicing, and you’ll soon find that making basic repairs is easier than you thought. Remember to take your time, be patient, and don’t be afraid to experiment with different techniques and materials.
A Guide to Basic Sewing Repairs Everyone Should Know
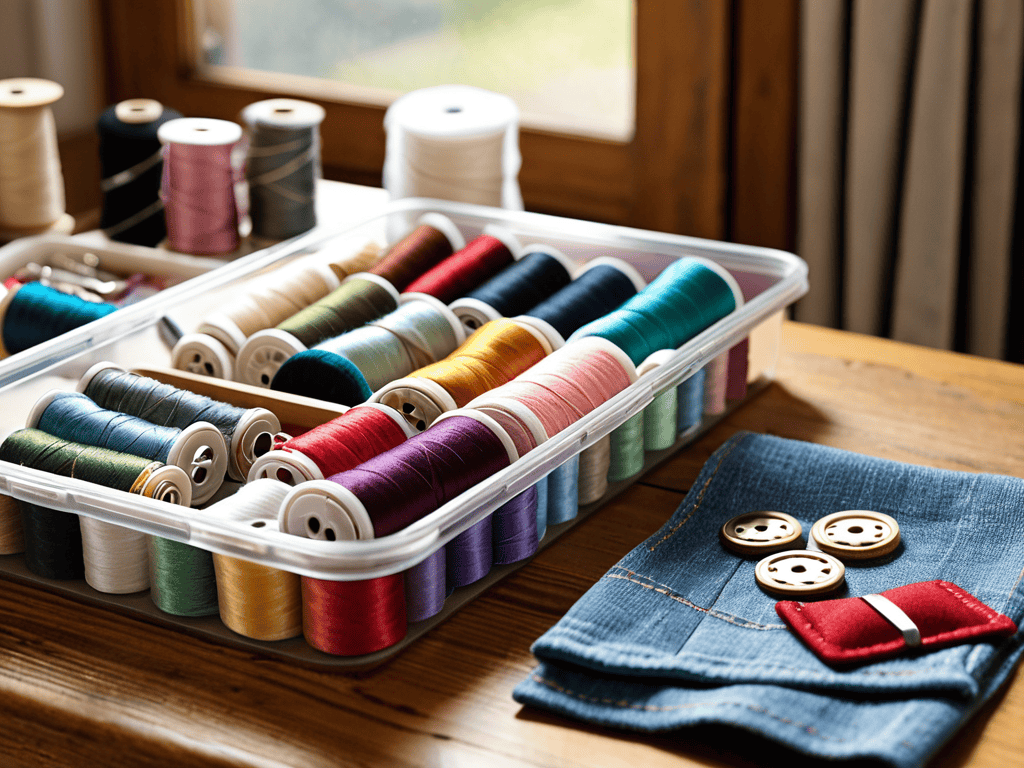
When it comes to sewing kit essentials, having the right tools can make all the difference in your repair work. A well-stocked kit should include a variety of sewing needles, threads, and fabrics for patching. Fabric patching methods can be particularly useful for repairing larger tears or holes in clothing. By having a few basic patches on hand, you can quickly and easily fix damaged items and extend their lifespan.
In addition to a good sewing kit, it’s also important to understand some basic hand sewing techniques for beginners. This can include simple stitches like the running stitch or the backstitch, which can be used to repair a wide range of items. Thread color matching tips are also crucial, as using a thread that closely matches the color of the fabric can help the repair blend in and become nearly invisible.
As you become more comfortable with basic sewing repairs, you may also want to consider investing in a sewing machine. However, be aware that common sewing machine problems can arise, such as tangled threads or broken needles. By taking the time to learn about these potential issues and how to troubleshoot them, you can save yourself a lot of frustration and ensure that your sewing machine continues to run smoothly.
Essential Hand Sewing Techniques for Beginners
When it comes to basic sewing repairs, knowing a few essential hand sewing techniques can be a lifesaver. For beginners, it’s all about starting with the basics, such as the running stitch, whipstitch, and slipstitch. These simple stitches can help you repair loose seams, fix torn fabric, and even hem pants or skirts. With a little practice, you’ll be able to tackle small repairs with ease and confidence.
Mastering these hand sewing techniques takes time and patience, but it’s worth the effort. Start by practicing on scrap fabric, and then move on to small repair projects, like fixing a torn seam or sewing on a button. Before you know it, you’ll be fixing your favorite clothes like a pro, and saving money on unnecessary repairs or replacements.
Mastering Common Sewing Machine Problems
Mastering Common Sewing Machine Problems
When your sewing machine decides to act up, it can be frustrating. Jammed threads, broken needles, and uneven stitching are just a few common issues that can halt your repair process. To overcome these obstacles, start by regularly cleaning and oiling your machine to prevent dust and debris buildup. Additionally, use the correct needle type and thread for your project to minimize breakage and tangling. By taking these simple precautions, you’ll be able to troubleshoot and resolve common sewing machine problems with ease, getting you back to mending your favorite items in no time.
Sewing Savvy: 5 Essential Tips for Basic Repairs
- Know Your Stitches: Familiarize yourself with basic hand stitches like the running stitch, backstitch, and slip stitch to tackle minor tears and holes
- Thread Tales: Choose the right thread color and type for your repair job to ensure a seamless blend with the original fabric
- Patch It Up: Learn how to apply patches to damaged areas, from denim tears to torn seams, to extend the life of your favorite garments
- Button Up: Master the art of sewing on buttons, a crucial skill for keeping your clothes functional and looking their best
- Press for Perfection: Don’t underestimate the power of a good ironing – use heat and steam to flatten seams, remove wrinkles, and make your repairs virtually invisible
Key Takeaways for a Stitch in Time
Learning basic sewing repairs can save you money and extend the life of your favorite clothes, from fixing torn seams to repairing broken zippers
Mastering common sewing machine problems and essential hand sewing techniques can make all the difference in your sewing journey, helping you tackle any repair job with confidence
By applying these simple yet effective sewing skills, you’ll not only become more self-sufficient but also develop a new hobby that can be both therapeutic and rewarding
Sewing Wisdom
With every stitch, you’re not just mending a tear, you’re weaving a story of self-sufficiency and creativity – the true fabric of independence.
Emily J. Miller
Wrapping Up: You're Now a Sewing Pro
As we conclude this guide to basic sewing repairs everyone should know, let’s quickly recap the essential steps and techniques covered. From mastering common sewing machine problems to learning essential hand sewing techniques for beginners, you’ve gained a solid foundation to tackle most clothing repairs with confidence. By applying these skills, you’ll not only save money but also extend the life of your favorite garments, reducing waste and living more sustainably. It’s about embracing a mindset of self-sufficiency and creativity, where a torn seam or a missing button is no longer a reason to discard an item but an opportunity to engage with it on a deeper level.
As you move forward, remember that sewing is not just about fixing clothes; it’s an art form, a way to express yourself, and a means to connect with the physical world in a tangible way. So, don’t be afraid to experiment, to try new things, and to make mistakes. Because in the end, it’s the process, not the perfection, that makes every stitch count, and every repair a story of love, care, and resilience.
Frequently Asked Questions
What are the most essential sewing tools I need to get started with basic repairs?
To get started with basic repairs, you’ll need a few essentials: a sewing kit with needles, threads, and buttons, a pair of sharp scissors, and a seam ripper. A simple sewing machine can also come in handy, but isn’t necessary for beginners. These basics will help you tackle most minor repairs and alterations.
How do I prevent further damage to my clothes while sewing repairs?
To prevent further damage, turn your garment inside out before sewing, and use a matching thread color to blend in with the fabric. Also, avoid pulling the fabric too tight, as this can cause additional stress and lead to more tears or runs, especially with delicate materials like silk or cotton.
Can I use a sewing machine for all types of basic repairs or are there cases where hand sewing is preferred?
While a sewing machine is great for many repairs, there are cases where hand sewing is preferred, like fixing delicate fabrics, sewing on small items, or repairing intricate areas that are hard for a machine to reach.