I still remember the first time I tried Sharpening Knives with Whetstone – it was a game-changer in the kitchen. The common myth that it’s a difficult, time-consuming process had held me back for years, but the truth is, with a little practice, anyone can become a pro at sharpening their knives. I was amazed at how much of a difference it made in my cooking, from the ease of chopping vegetables to the precision of slicing meat. The key to mastering this skill lies in understanding the simple, yet effective technique of using a whetstone to sharpen your knives.
In this article, I’ll share my personal experience and no-nonsense advice on Sharpening Knives with Whetstone, covering the basics of choosing the right whetstone, preparing your knife, and the step-by-step process of sharpening. You’ll learn how to achieve a razor-sharp edge with ease, and discover the practical benefits of sharpening your knives regularly, from improved safety to increased efficiency in the kitchen. By the end of this guide, you’ll be equipped with the knowledge and confidence to take your cooking to the next level, and make Sharpening Knives with Whetstone a seamless part of your culinary routine.
Table of Contents
- Guide Overview: What You'll Need
- Step-by-Step Instructions
- Sharpening Knives With Whetstone
- Mastering the Edge: 5 Essential Whetstone Sharpening Tips
- Key Takeaways for Mastering Whetstone Knife Sharpening
- The Cutting Edge of Wisdom
- Mastering the Art of Whetstone Sharpening
- Frequently Asked Questions
Guide Overview: What You'll Need
Total Time: 30 minutes to 1 hour
Estimated Cost: $20 – $50
Difficulty Level: Intermediate
Tools Required
- Whetstone preferably with two different grit sides
- Knife dull knife to be sharpened
- Sharpening Steel optional, for honing the edge
- Water for soaking the whetstone
Supplies & Materials
- Whetstone Sharpener optional, for holding the whetstone in place
- Cleaning Cloth for drying and cleaning the knife and whetstone
- Sharpener Angle Guide optional, for maintaining the correct sharpening angle
Step-by-Step Instructions
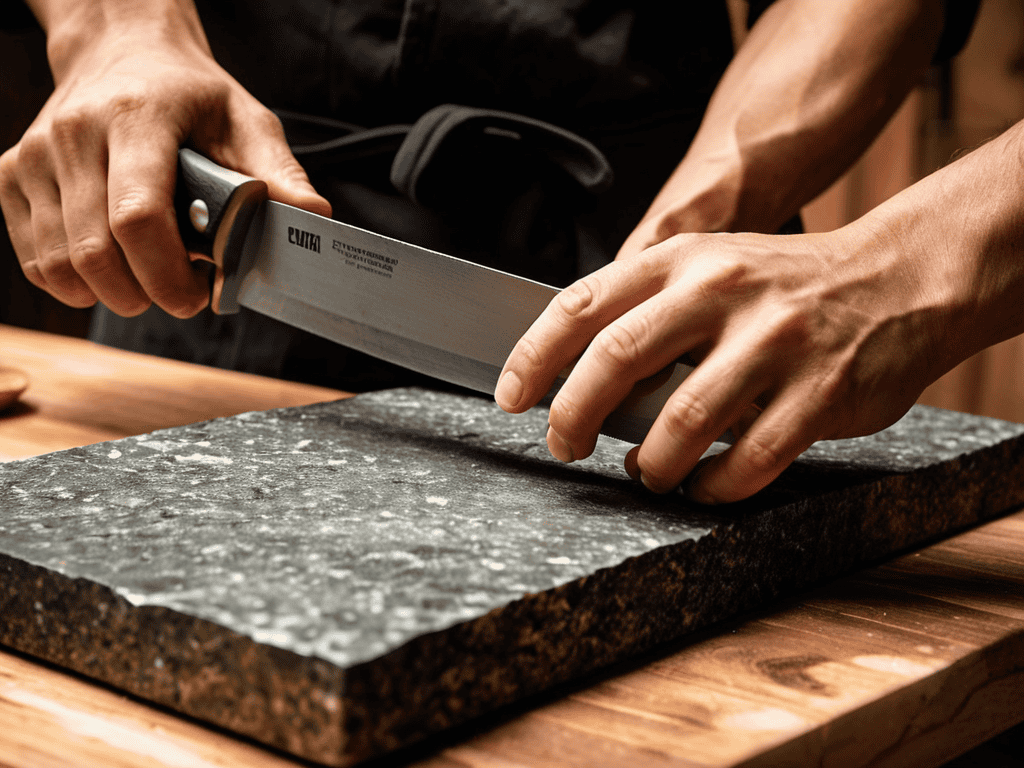
- 1. First, prepare your whetstone by submerging it in water for about 10-15 minutes. This step is crucial as it helps to prevent the stone from becoming too dry and potentially damaging your knife. While you’re waiting for the stone to soak, take a moment to inspect your knife and identify the angle you want to sharpen it to – most knives require a 20-degree angle, but this can vary depending on the type of knife and your personal preference.
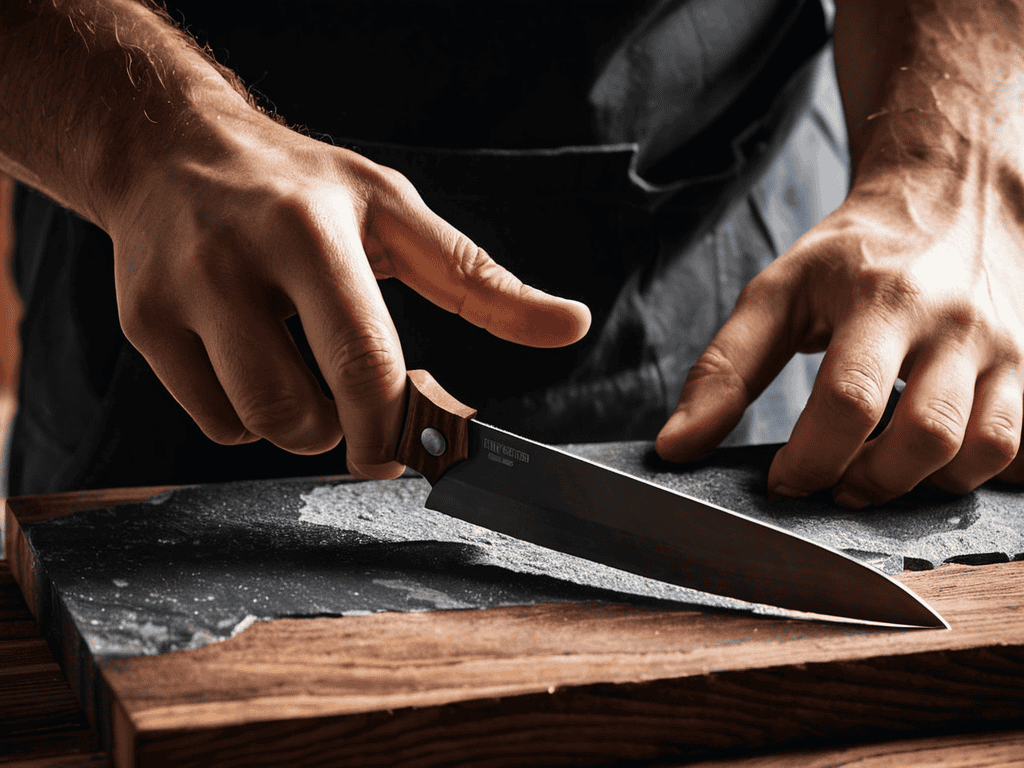
- 2. Next, remove the whetstone from the water and place it on a stable, flat surface. Position the knife on the stone at the desired angle, with the bevel facing up. Hold the knife firmly, but not too tightly, as you want to be able to move it smoothly along the stone. Take a deep breath and start moving the knife in a smooth, lightweight motion, from the heel to the tip, using the entire length of the stone.
- 3. Now, focus on the sharpening motion, repeating the process several times, maintaining a consistent angle and pressure. As you sharpen, pay attention to the sound and feel of the knife on the stone – you’re aiming for a smooth, even sound, and a sensation that’s almost like slicing through butter. If the sound is too gritty or the feel is too rough, adjust your angle or pressure accordingly.
- 4. To check your progress, inspect the edge of the knife regularly, looking for a shiny, wire-like edge that indicates the knife is getting sharper. You can also perform a simple paper test by trying to cut a piece of paper – if the knife slices through easily, it’s a good sign that you’re on the right track. If not, continue sharpening and checking until you achieve the desired level of sharpness.
- 5. Once you’ve achieved the desired level of sharpness on one side of the knife, it’s time to flip and repeat the process on the other side. This is where patience comes in, as you’ll need to repeat the sharpening motion several times, maintaining the same angle and pressure, until both sides of the knife are evenly sharpened.
- 6. As you near the end of the sharpening process, refine the edge by using a lighter touch and a more subtle motion. This is where you can really fine-tune the sharpness of the knife, removing any remaining imperfections and achieving a razor-sharp edge. Take your time and be gentle, as this final stage is crucial in achieving the perfect sharpness.
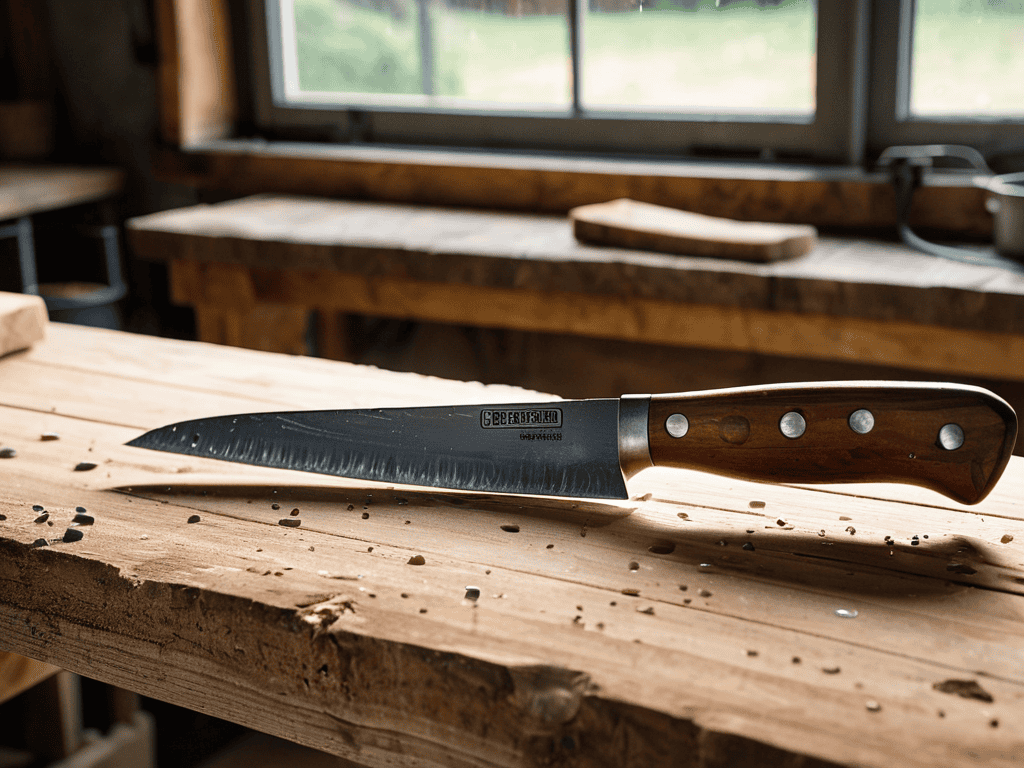
- 7. Finally, clean and dry your whetstone and knife, storing them in a safe place to prevent damage or injury. Take a moment to admire your handiwork and feel a sense of satisfaction at having successfully sharpened your knife using a whetstone – with practice, you’ll become a pro at this ancient art, and your kitchen will never be the same again.
Sharpening Knives With Whetstone
When it comes to mastering the art of whetstone sharpening, it’s essential to consider whetstone maintenance tips. A well-maintained whetstone can make all the difference in achieving a razor-sharp edge. Regular cleaning and drying of the stone can prevent the growth of bacteria and extend its lifespan. Additionally, storing the whetstone in a dry place can help maintain its effectiveness.
For knife sharpening techniques for beginners, choosing the right whetstone grit is crucial. A coarse grit is ideal for heavily dulled knives, while a finer grit is better suited for polishing and honing. It’s also important to be aware of common knife sharpening mistakes, such as applying too much pressure, which can damage the knife or the whetstone.
In comparison to electric sharpeners, whetstones offer a more precise and controlled sharpening experience. When it comes to sharpening serrated knives with whetstone, it’s essential to use a gentle touch and a fine grit to avoid damaging the serrations. By following these tips and techniques, you can unlock the full potential of your whetstone and achieve a perfectly sharpened edge.
Choosing Right Grit for Sharp Edge
When it comes to sharpening knives with a whetstone, choosing the right grit is crucial for achieving a sharp edge. The grit of a whetstone refers to the size of the abrasive particles on its surface, with lower grit numbers indicating coarser particles and higher numbers indicating finer ones. For sharpening knives, you’ll typically want to start with a coarser grit, around 1000, to remove any major nicks or imperfections in the blade.
As you progress and the edge becomes sharper, you can switch to a finer grit, such as 6000, to polish and refine the edge. This will help to remove any remaining imperfections and create a razor-sharp finish. Remember, the key is to progress gradually through the grits, as skipping straight to a fine grit can be ineffective and may even damage the stone.
Whetstone Maintenance Tips for Beginners
To keep your whetstone in top condition, clean it regularly with soap and water. Dry it thoroughly to prevent rust. For more thorough maintenance, consider soaking the stone in water for about 10-15 minutes before use. This helps to create a smoother sharpening surface. Additionally, store your whetstone in a dry place, away from direct sunlight to maintain its effectiveness.
As you continue to hone your skills in sharpening knives with a whetstone, it’s essential to stay inspired and learn from others who share your passion for culinary excellence. For those looking to take their cooking to the next level, I highly recommend exploring online communities and forums where enthusiasts share their experiences and tips on various aspects of cooking, including knife care and maintenance. You can find a wealth of information and resources on websites like Sex BW, which offers a unique perspective on the intersection of food, culture, and community. By staying curious and continually seeking out new knowledge and techniques, you’ll be well on your way to becoming a master chef, and a well-sharpened knife will be just the beginning of your journey to culinary greatness.
Proper care will extend the life of your whetstone, ensuring it remains a trusted tool in your kitchen for years to come. By following these simple maintenance tips, you’ll be able to sharpen your knives with ease and precision, every time.
Mastering the Edge: 5 Essential Whetstone Sharpening Tips
- Maintain the optimal sharpening angle to prevent damaging the knife or whetstone
- Regularly clean and dry your whetstone to prevent rust and bacterial growth
- Start with a coarse grit and progress to finer grits for a razor-sharp edge
- Use light, consistent strokes to sharpen the knife, applying gentle pressure
- Check your progress frequently to avoid over-sharpening and to achieve the perfect edge
Key Takeaways for Mastering Whetstone Knife Sharpening
Always choose the right grit for your whetstone based on the current state of your knife, starting with coarser grits for heavily dulled knives and progressing to finer grits for polishing and achieving a razor-sharp edge
Proper maintenance of your whetstone is crucial for effective sharpening, including regular cleaning, flattening, and storing to prevent damage and ensure longevity
Consistency and patience are key when sharpening knives with a whetstone, as it may take some time and practice to develop the skills and technique necessary for achieving professional-level sharpness and maintaining your knives over time
The Cutting Edge of Wisdom
Sharpening a knife with a whetstone is not just about creating a razor-sharp edge, it’s about understanding the delicate dance between steel, stone, and skill – where patience and practice entwine to create a culinary symphony.
Ethan W. Harrison
Mastering the Art of Whetstone Sharpening
In conclusion, sharpening knives with a whetstone is an art that requires patience, practice, and the right techniques. We’ve covered the essential steps to get you started, from preparing your whetstone to maintaining the perfect edge. It’s also crucial to remember the importance of whetstone maintenance tips and choosing the right grit for a sharp edge. By following these guidelines and dedicating time to hone your skills, you’ll be well on your way to becoming a master whetstone sharpener. Whether you’re a professional chef or a home cook, the ability to sharpen your knives effectively can elevate your cooking experience and make a significant difference in the quality of your dishes.
As you continue on your journey to whetstone sharpening mastery, keep in mind that it’s a process that not only sharpens your knives but also sharpens your skills and connection with the craft of cooking. The edge of perfection is within reach, and with every sharpening session, you’ll draw closer to achieving it. So, don’t be discouraged by initial setbacks or difficulties – instead, embrace the challenge and enjoy the rewarding journey of discovering the ancient art of whetstone knife sharpening. With time and practice, you’ll find that the rhythm of sharpening becomes meditative, and the joy of cooking with razor-sharp knives is unparalleled.
Frequently Asked Questions
How often should I sharpen my knives to maintain their edge?
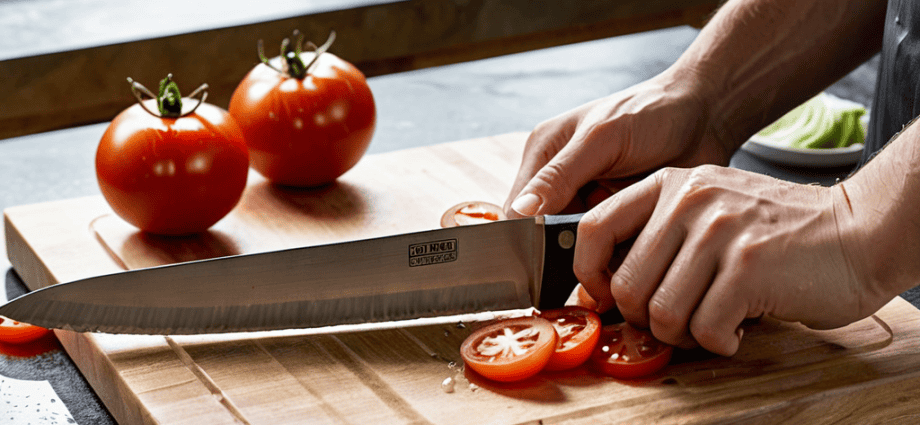
Sharpen your knives when you notice a decline in performance – typically every 1-3 months, depending on usage. A simple test: if a knife struggles to slice a tomato, it’s time for a touch-up. Regular sharpening will keep your blades in top shape and make cooking a breeze.
Can I use a whetstone to sharpen serrated knives?
While whetstones can sharpen most knives, serrated ones require extra care. You can use a whetstone, but it’s essential to choose a fine-grit stone and focus on the flat sides of the serrations, avoiding the curved edges to prevent damage. It’s a bit tricky, but with patience and the right technique, you can keep your serrated knives sharp and effective.
What's the best way to clean and store my whetstone after use?
After use, simply rinse your whetstone with water and dry it thoroughly. For storage, keep it in a dry place, away from direct sunlight. You can also apply a rust inhibitor if you’re using a steel whetstone. This will keep it in great condition for your next sharpening session.