As I sat in my favorite Chicago coffee shop, sipping on a rich Ethiopian roast, I stumbled upon a heated debate among gamers about the GPU Undervolting Guide. It seemed that many believed undervolting was a dark art, reserved for the tech-savvy elite, but I knew better. The truth is, taming the beast of GPU undervolting is more about understanding your hardware’s unique personality than performing a magical ritual. I’ve spent countless hours exploring the city’s hidden gems, from vintage bookstores to indie coffee shops, and I’ve learned that the key to mastering any skill lies in embracing its quirks.
In this no-nonsense GPU Undervolting Guide, I’ll share my personal journey of trial and error, and provide you with practical advice on how to unlock your GPU’s full potential without overheating. You’ll learn how to navigate the complex world of voltage control, bypass common pitfalls, and discover the sweet spot where performance meets efficiency. Whether you’re a seasoned gamer or a curious beginner, this guide will empower you to take control of your hardware and join the ranks of the undervolting elite. So, grab a cup of your favorite coffee, get comfortable, and let’s dive into the wild world of GPU undervolting together.
Table of Contents
- Guide Overview: What You'll Need
- Step-by-Step Instructions
- Gpu Undervolting Guide
- Unlocking the Secrets of GPU Undervolting: 5 Tips to Tame the Beast
- Unlocking GPU Potential: 3 Key Takeaways
- Unlocking the Secrets of GPU Undervolting
- Unlocking the Full Potential: A Conclusion to GPU Undervolting
- Frequently Asked Questions
Guide Overview: What You'll Need
Total Time: 1 hour 30 minutes
Estimated Cost: $0 – $20
Difficulty Level: Intermediate
Tools Required
- GPU Stress Testing Software (e.g., Unigine Heaven or Valley)
- GPU Overclocking Software (e.g., MSI Afterburner or EVGA Precision XOC)
- Text Editor or Note-taking Software (for monitoring and recording results)
Supplies & Materials
- None No physical supplies are required for GPU undervolting
- Power Supply Unit Ensure your PSU can handle the reduced power consumption
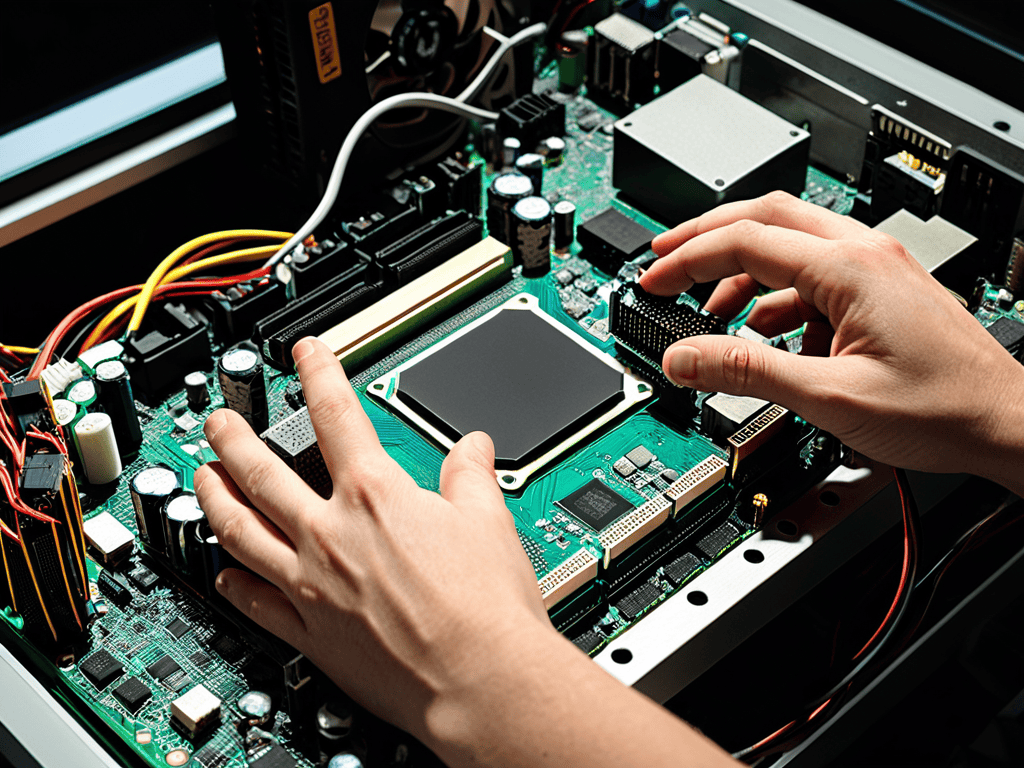
- Cooling System Adequate cooling is necessary to prevent overheating during stress testing
Step-by-Step Instructions
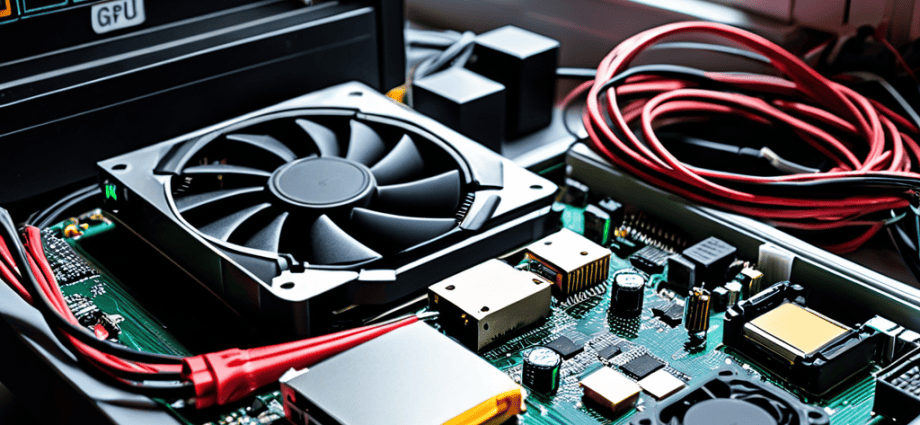
- 1. First, let’s dive into the world of GPU undervolting by understanding what it entails. Essentially, undervolting is the process of reducing the voltage supplied to your GPU while maintaining its performance, which can lead to significant power savings and reduced heat generation. To start, you’ll need to download and install a reliable tool for monitoring and adjusting your GPU settings, such as MSI Afterburner or EVGA Precision XOC.
- 2. Next, you’ll want to familiarize yourself with the interface of your chosen software. Take some time to explore the different menus and options, paying close attention to the voltage control and monitoring sections. This will be your command center for the undervolting process, so it’s crucial to understand how to navigate it efficiently. Look for options to adjust the core voltage and memory voltage, as these will be key to your undervolting journey.
- 3. Now it’s time to benchmark your GPU to establish a baseline for its current performance. This will help you track any changes that occur during the undervolting process. You can use benchmarking tools like 3DMark or Unigine Heaven to put your GPU through its paces and get an idea of its current power draw and performance levels. Make a note of these values, as you’ll be comparing them to your post-undervolting results.
- 4. With your baseline established, it’s time to start the undervolting process. Begin by reducing the core voltage in small increments (usually 10-20mV at a time) and then re-running your benchmarking tests to see how your GPU performs. You’re looking for the point at which your GPU’s performance starts to degrade noticeably, which will indicate that you’ve gone too far with the undervolting. Be careful not to push too hard, as this can cause system instability.
- 5. As you find the optimal voltage for your GPU, you’ll want to lock it in and test it under more realistic conditions. This means running actual games or applications that you use regularly, rather than just benchmarks. Pay attention to any signs of instability, such as crashes or freezes, and be prepared to adjust your voltage settings accordingly. Remember, the goal is to find a sweet spot where your GPU is running efficiently without sacrificing too much performance.
- 6. Once you’ve settled on your ideal voltage settings, it’s essential to monitor your GPU’s temperatures to ensure that the undervolting process hasn’t introduced any new thermal issues. Use your software to keep an eye on the temperature readings, especially during intense gaming sessions or other GPU-heavy activities. If you notice any unusual spikes, you may need to revisit your voltage settings or explore other cooling solutions.
- 7. Finally, take some time to reflect on your journey and the results you’ve achieved. Compare your post-undervolting benchmark scores and power draw to your baseline values, and think about how you can apply these principles to other areas of your system for even greater efficiency gains. Remember, undervolting is an art that requires patience and experimentation, so don’t be discouraged if it takes a few attempts to get it just right – with practice, you’ll be a master tuner in no time.
Gpu Undervolting Guide

As I delve into the world of gpu voltage control, I’m reminded of the wise words of Dickens, “It was the best of times, it was the worst of times.” For gaming laptops, finding the perfect balance between performance and power efficiency is a delicate dance. Undervolting for gaming laptops requires a deep understanding of the hardware and software at play. By tweaking the voltage settings, gamers can unlock smoother performance and reduced heat generation, much like a master barista coaxes the perfect brew from a finely tuned espresso machine.
When it comes to nvidia gpu undervolting or amd gpu undervolting guide, the approach may vary, but the goal remains the same: to strike a harmonious balance between power consumption and performance. GPU temperature monitoring tools become essential in this quest, allowing users to keep a watchful eye on their hardware’s vital signs. By doing so, they can identify potential bottlenecks and make informed decisions about their undervolting strategy.
In the realm of digital storytelling, I’ve found that overclocking vs undervolting is a bit like choosing between a rich, bold roast and a smooth, subtle blend – each has its own unique charm and advantages. As a blogger, I’m always on the lookout for ways to optimize my hardware and streamline my workflow, much like a writer seeking the perfect metaphor to convey their message. By embracing the art of undervolting, we can fine-tune our systems to run with the precision of a well-crafted timepiece, freeing us to focus on the creative pursuits that bring us joy.
Amd vs Nvidia Undervolting for Gaming Laptops
As I sip my coffee in a quaint, hidden café, I ponder the age-old debate: AMD vs Nvidia. In the realm of undervolting for gaming laptops, this dichotomy takes on a new dimension. Nvidia’s voltage control is akin to a skilled puppeteer, delicately manipulating the strings of power consumption. In contrast, AMD’s approach is more akin to a master chef, expertly balancing flavors to achieve a harmonious culinary experience.
As I delve into the world of GPU undervolting, I’m reminded of the importance of having the right tools and resources at your fingertips. When it comes to optimizing your gaming laptop’s performance, it’s not just about tweaking the hardware, but also about understanding the software that drives it. For those looking to dive deeper into the realm of digital performance enhancement, I’ve found that exploring online communities and forums can be a treasure trove of information – much like stumbling upon a hidden coffee shop gem in the city. And, just as a great cup of coffee can fuel your creativity, the right online resources can fuel your tech-savviness, helping you to fine-tune your skills and stay up-to-date on the latest trends. If you’re looking for a unique perspective on the intersection of technology and lifestyle, you might enjoy a visit to Escorts Australia, where you’ll find a fascinating blend of culture, community, and insight that’s sure to spark some interesting conversations.
For gaming laptops, Nvidia’s precision is often preferred, allowing for more aggressive undervolting without sacrificing performance. However, AMD’s more nuanced approach can still yield impressive results with careful calibration. As a blogger, I’m reminded of the wise words of Oscar Wilde: “To love oneself is the beginning of a lifelong romance.” In undervolting, self-awareness of one’s hardware is key to unlocking its true potential.
Taming Nvidia Beasts With Voltage Control
Taming Nvidia Beasts with Voltage Control
As I delve into the realm of GPU undervolting, I’m reminded of the wise words of Tolkien, “Even the smallest person can change the course of the future.” In this case, the “small” adjustment of voltage control can significantly impact your Nvidia GPU’s performance and power efficiency. By tweaking the voltage, you can unlock a new level of optimization, much like discovering a hidden coffee shop gem in the city.
With Nvidia’s voltage control, you can fine-tune your GPU’s power consumption, leading to reduced heat and increased performance. It’s akin to finding the perfect roast level for your morning coffee – it’s all about balance. By mastering voltage control, you’ll be well on your way to taming even the most powerful Nvidia beasts, and unlocking their full potential.
Unlocking the Secrets of GPU Undervolting: 5 Tips to Tame the Beast
- Monitor Your System Like a Hawk: Keep a watchful eye on your system’s temperature, performance, and power consumption to ensure you’re not pushing it too far
- Start with Small Steps: Don’t try to undervolt your GPU aggressively from the get-go – take it one small notch at a time to avoid system instability
- Choose the Right Tools for the Job: Whether you’re team Nvidia or Amd, make sure you’re using the software that’s right for your hardware
- Test, Test, Test: Run a variety of benchmarks and stress tests to see how your system handles the undervolting – it’s like tasting different coffee blends to find your perfect cup
- Be Prepared to Adapt: Undervolting is not a set-it-and-forget-it process – be ready to make adjustments as you go, just like a barista tweaking their espresso machine to get the perfect shot
Unlocking GPU Potential: 3 Key Takeaways
Embracing the art of GPU undervolting can lead to significant reductions in power consumption and heat generation, much like how a skilled barista coaxes the perfect brew from a meticulously tuned espresso machine.
Through the lens of classic literature, we find that the journey of undervolting is akin to navigating the twists and turns of a Dickensian plot – unpredictable, yet full of hidden treasures waiting to be uncovered by the intrepid blogger.
By mastering the techniques outlined in this guide, aspiring tech bloggers can empower their audience to tame even the most ferocious of GPUs, transforming their devices into sleek, high-performance machines that rival the vibrant energy of a Chicago morning
Unlocking the Secrets of GPU Undervolting
Undervolting your GPU is like navigating the winding streets of a foreign city – it requires a sense of adventure, a dash of curiosity, and the willingness to push beyond the boundaries of what’s considered ‘normal’, for it’s in these uncharted territories that we discover the true potential of our machines, and the stories they help us tell.
David Cedeno
Unlocking the Full Potential: A Conclusion to GPU Undervolting
As we conclude this journey through the realm of GPU undervolting, it’s essential to reflect on the key takeaways. We’ve navigated the step-by-step process, delved into the nuances of taming Nvidia beasts with voltage control, and explored the differences between AMD and Nvidia when it comes to undervolting for gaming laptops. By applying these principles, you’ll be well on your way to optimizing your GPU’s performance while reducing power consumption. Remember, the goal of undervolting is not just about squeezing out extra frames per second, but also about prolonging the lifespan of your hardware and reducing heat generation.
As you embark on your own undervolting adventures, keep in mind that experimentation is key. Don’t be afraid to try new things, to push the boundaries of what’s possible, and to learn from your mistakes. The world of GPU undervolting is a fascinating one, full of hidden gems waiting to be uncovered. So, go forth, armed with the knowledge and confidence to unlock the full potential of your GPU. And as you sit back to enjoy the fruits of your labor, remember that the true beauty of undervolting lies not just in the technical achievements, but in the sense of community and camaraderie that comes with sharing your discoveries and learning from others.
Frequently Asked Questions
What are the potential risks of undervolting my GPU, and how can I minimize them?
As I always say, “it was the best of times, it was the worst of times” – undervolting can be a double-edged sword. Risks include system crashes and instability, but fear not, my friend! To minimize them, monitor your GPU’s temps, adjust voltages gradually, and keep an eye on performance – a delicate dance, indeed, but one that can unleash your GPU’s full potential.
Can I undervolt my GPU if I'm using a laptop, or is it only recommended for desktops?
The age-old question that haunts laptop warriors everywhere. Fear not, my friend, for undervolting isn’t exclusive to desktops. With the right tools and a dash of caution, you can indeed tame the GPU beast within your laptop, unlocking a sweeter spot where performance and power efficiency entwine like star-crossed lovers in a Shakespearean sonnet.
How do I determine the optimal voltage and frequency settings for my specific GPU model to achieve the best balance between performance and power efficiency?
Finding that sweet spot is like discovering a hidden coffee shop – it takes a bit of experimentation. For your specific GPU model, try using benchmarking tools to test different voltage and frequency combinations, and monitor performance and power draw. It’s a trial-and-error process, but with patience, you’ll uncover the perfect blend of speed and efficiency.